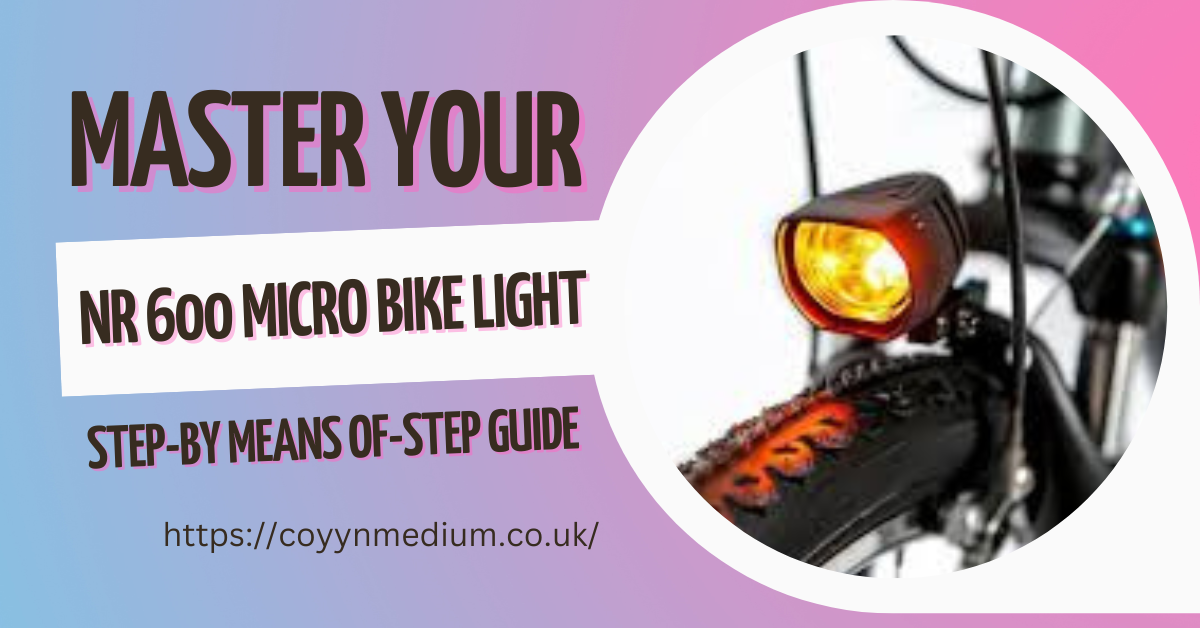
Introduction to the NR 600 Micro Bike Light
What Makes the NR six hundred Micro Bike Light Unique?
The NR 600 Micro Bike Light isn’t always simply every other accent for your bike; it’s a dependable partner on your nighttime rides. Designed with modern-day generation, this compact yet effective mild gives superior brightness, versatility, and durability. It’s lightweight, ensuring that it doesn’t add useless bulk on your ride, while its excessive-lumen output guarantees visibility even inside the darkest environments. One of its standout capabilities is its a couple of lights modes, permitting riders to personalize the brightness and beam type in keeping with their desires. Whether you’re a casual cyclist or a professional, the NR 600 Micro is designed to fulfill diverse necessities.
Why You Need a Reliable Bike Light for Your Rides
Cycling at night time or in low-visibility situations can be risky without right illumination. A dependable motorbike light, inclusive of the NR six hundred Micro, ensures your course is well-lit and makes you seen to different road customers. This now not only complements your safety but also boosts your self belief during nighttime rides. Additionally, the NR six hundred Micro Bike Light’s strong construction and weather-resistant capabilities make it a reliable choice in diverse environmental conditions.
Overview of the Features of the NR six hundred Micro Bike Light
The NR six hundred Micro Bike Light boasts a number superb capabilities, which include excessive-lumen LED output, a couple of beam modes, and long-lasting battery existence. It is designed with an intuitive user interface for smooth operation and springs with adjustable mounting options for normal compatibility. The light is likewise constructed to withstand intense weather conditions, making it ideal for each urban and off-avenue adventures.
Unboxing Your NR six hundred Micro Bike Light
What’s Included in the Box?
When you unbox the NR 600 Micro Bike Light, you’ll discover the primary mild unit, a durable mounting bracket, a rechargeable battery, a USB charging cable, and a user manual. Some packages may additionally consist of greater accessories like rubber straps or a deliver pouch. Each thing is well packed to ensure a problem-loose unboxing revel in.
First Impressions: Build Quality and Design
The NR 600 Micro Bike Light’s first impression is striking. Its compact layout, coupled with amazing substances, ensures sturdiness and fashion. The glossy end and ergonomic form make it not best aesthetically appealing however also smooth to handle. The light’s buttons are tactile and nicely-positioned, making sure seamless operation even at the same time as wearing gloves.
Preparing for Setup: Essential Components and Tools
Before putting in place your NR six hundred Micro Bike Light, acquire all of the components and tools. Ensure the battery is charged using the included USB cable. Familiarize your self with the user guide, which presents specific commands for set up. Also, test that the mounting bracket is compatible together with your motorcycle’s handlebar size and fashion.
Step-by-Step Guide to Setting Up the NR 600 Micro Bike Light
Attaching the Light to Your Bike
Start by using attaching the mounting bracket on your bike’s handlebars. Secure it tightly using the furnished screws or straps. Once the bracket is in region, slide the NR six hundred Micro mild into the mount till you hear a click, indicating it’s securely connected.
Proper Positioning for Optimal Illumination
Position the mild in order that it’s angled barely downward, keeping off glare for oncoming visitors. Ensure the beam covers a sufficient portion of the road in advance without being too excessive or low. Proper alignment is crucial for maximizing safety and performance.
Installing and Charging the Battery
Insert the rechargeable battery into the mild unit, ensuring it’s properly seated. Connect the USB charging cable to a strength supply and price the battery completely before your first journey. Most models characteristic an LED indicator that signals while the battery is fully charged.
Initial Power-On: Quick Functional Test
After set up, activate the light to test its capability. Cycle via the various modes to make sure all functions are operational. This step facilitates pick out any problems before heading out on your experience.
Exploring the Features of the NR six hundred Micro Bike Light
Understanding the Light Modes and Their Purposes
The NR six hundred Micro Bike Light gives multiple lighting fixtures modes:
- Low Beam Mode for Urban Rides: Ideal for city commuting, this mode offers enough mild with out blinding pedestrians or drivers.
- High Beam Mode for Off-Road Adventures: Delivers most brightness for exploring darkish trails and uneven terrain.
- Flashing Mode for Safety: Enhances visibility throughout daylight rides or in foggy conditions.
Battery Life and Performance Insights
With a fully charged battery, the NR 600 Micro Bike Light can last up to 8 hours on low beam and round three hours on high beam. Flashing mode consumes less power, extending battery lifestyles. The light’s electricity-efficient LED generation ensures regular overall performance in the course of its usage.
Waterproof and Weather Resistance Capabilities
The NR six hundred Micro is built to undergo harsh climate situations. Its water resistant design protects internal additives from rain and splashes, making it a dependable choice for year-round use.
Customizing Settings for Your NR 600 Micro Bike Light
Adjusting Brightness Levels
To adjust brightness tiers, press the exact button to cycle via modes. Choose the mode that suits your environment and using wishes. Lower brightness is ideal for holding battery at some point of prolonged rides.
Switching Between Light Modes
Switching among modes is straightforward, thanks to the mild’s intuitive control gadget. Hold down the electricity button for some seconds to prompt flashing mode or go back to the default placing.
Tips for Saving Battery Life on Longer Rides
To store battery lifestyles, use the low-beam mode at some stage in nicely-lit situations. Turn off the mild for the duration of breaks, and carry a transportable strength financial institution for emergency charging if wanted.
Maintenance and Care for Your NR six hundred Micro Bike Light
Cleaning the Light and Mounts
Regular cleaning prevents dirt and grime from affecting performance. Use a moist fabric to wipe down the mild and mounting bracket after each experience.
Proper Storage When Not in Use
Store the mild in a cool, dry location whilst no longer in use. Avoid extended publicity to severe temperatures, that could damage the battery and inner components.
Common Maintenance Tips to Prolong Life
Periodically take a look at for loose screws or tired straps. Replace any broken components directly to ensure most excellent functionality.
Troubleshooting Common Issues
What to Do If the Light Won’t Turn On
Ensure the battery is charged and well mounted. If the issue persists, check the battery contacts for dust or corrosion.
Resolving Battery Charging Problems
If the battery isn’t charging, check out the USB cable and port for damage. Try the use of a distinctive power supply or cable to isolate the hassle.
Fixing Loose or Misaligned Mounts
Tighten the mounting screws or straps. If the issue persists, consider replacing the mounting bracket with a compatible opportunity.
Understanding and Addressing Light Flicker
Light flicker can also imply a low battery or poor touch among the battery and terminals. Clean the contacts and recharge the battery to clear up this.
Enhancing Your Experience with NR 600 Micro Bike Light
Accessories That Pair Well with the NR 600
Consider extra accessories like rear lights, reflective equipment, and helmet mounts to enhance safety and visibility.
Using the NR six hundred Micro Bike Light for Night Adventures
For night time adventures, integrate the NR six hundred with a rear tail mild for 360-diploma visibility. Use excessive-beam mode for maximum illumination.
Safety Tips for Riding with Bike Lights
Always make certain your light is charged and securely installed. Adjust the beam to keep away from fantastic other street users.
Comparing the NR six hundred Micro Bike Light with Competitors
Key Differences Between the NR 600 and Other Bike Lights
The NR 600 Micro stands proud for its compact layout, high-lumen output, and weather resistance. It outperforms many competitors in phrases of battery lifestyles and build first-class.
Why the NR 600 Stands Out for Cyclists
Its consumer-pleasant design, flexible functions, and durability make it a pinnacle desire for cyclists of all degrees. The light’s affordability further adds to its appeal.
Real User Reviews and Testimonials
Users praise the NR six hundred Micro for its reliability, brightness, and ease of use. Many keep in mind it a sport-changer for nighttime biking.
Frequently Asked Questions (FAQs)
How Long Does the NR six hundred Battery Last on Full Charge?
On full price, the battery lasts up to 8 hours on low beam and 3 hours on high beam.
Can I Use the Light in Rainy Conditions?
Yes, the NR six hundred Micro is water-proof and suitable for wet situations.
How Do I Replace the Battery?
Refer to the person manual for exact instructions on replacing the battery. Ensure you buy a compatible substitute.
Is the Light Suitable for All Bike Types?
Yes, the NR 600 Micro is well suited with most motorbike types, including street bikes, mountain bikes, and hybrids.
Tips for Maximizing Your NR 600 Micro Bike Light
Best Practices for Daily Use
Regularly charge the battery and clean the mild after use. Avoid overcharging to prolong battery life.
Riding Safely at Night with the NR six hundred
Combine the NR six hundred with reflective clothing and a rear light for highest quality visibility. Use appropriate beam modes for one of a kind conditions.
Using Light Modes Strategically for Better Visibility
Switch among low and excessive beams based totally at the environment. Use flashing mode all through the day to alert different avenue customers.
Conclusion
Why the NR 600 Micro Bike Light Is a Must-Have
The NR 600 Micro Bike Light is a flexible and reliable tool for any cyclist. Its advanced capabilities, durability, and ease of use make it a need to-have for secure and exciting rides.
Recap of Key Features and Benefits
From its high-lumen output to its multiple lights modes and weather-resistant design, the NR 600 Micro Bike Light offers tremendous overall performance and price.
Final Thoughts on Mastering the NR six hundred Micro Bike Light
By following this guide, you can release the overall capacity of your NR six hundred Micro Bike Light. Whether you’re commuting in the town or exploring off-avenue trails, this mild will make sure you trip with self belief and protection.
FAQs
How do I switch on the NR six hundred Micro Bike Light?
To turn on the NR six hundred Micro Bike Light, press and preserve the electricity button for two-three seconds. The mild will prompt, and you could cycle through modes via urgent the button once more.
How do I price the NR 600 Micro Bike Light?
Use the covered USB cable to attach the light to a electricity supply. The LED indicator will show charging development. It normally takes 3-4 hours for a complete rate.
What modes does the NR six hundred Micro Bike Light have?
The NR six hundred gives a couple of modes: low beam, high beam, and flashing mode. Each mode fits one-of-a-kind riding situations, which includes city commuting, off-street trails, or visibility enhancement.
How do I set up the NR six hundred Micro Bike Light?
Attach the mounting bracket to your motorcycle’s handlebar, secure it tightly, and slide the light onto the mount until it clicks. Adjust the angle for best illumination.
Is the NR 600 Micro Bike Light water resistant?
Yes, the NR 600 Micro Bike Light is waterproof, making it suitable for use in rainy or moist conditions. Always dry it after use to hold its durability.